Oily Hair Disaster. This DIY Treatment Works Like a Charm!
If you’re dealing with oily hair, this DIY treatment can be a game changer! Start by mixing apple cider vinegar, lemon juice, and witch hazel. Apply the mixture to your scalp and gently massage it in. Let it sit for about 20-30 minutes, then rinse with lukewarm water. To keep oiliness at bay, establish a washing routine, nourish your hair with a balanced diet, and avoid heavy products. There’s plenty more you can do to keep your hair healthy and fresh!
Understanding the Causes of Oily Hair
When you notice your hair becoming oily, it’s essential to understand the underlying causes. Oily hair often stems from overactive sebaceous glands, which produce excess sebum.
Factors like genetics play a significant role; if your family has similar hair issues, you might, too. Hormonal changes—like those during puberty, menstruation, or stress—can trigger increased oil production.
Additionally, how often you wash your hair affects oiliness; infrequent washing allows sebum to build up. Products with heavy ingredients can also contribute, making your hair feel greasier.
Understanding these causes helps you tackle the problem more effectively, so you don’t feel alone in your hair struggles. Embracing this knowledge can empower you to take control of your hair’s health.
Ingredients for the DIY Treatment
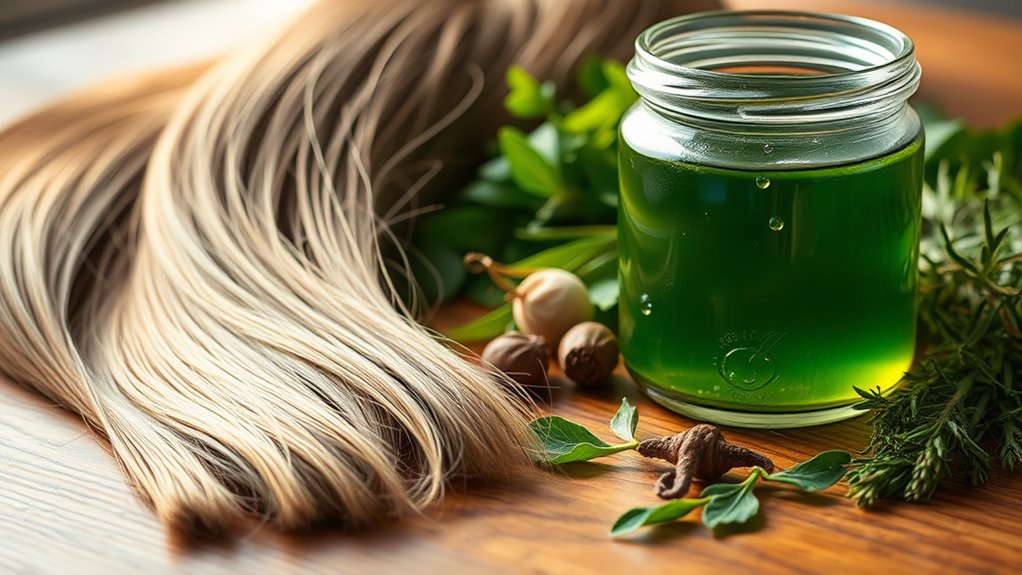
To manage oily hair effectively, choosing the right ingredients for your DIY treatment is key. Start with apple cider vinegar, known for its ability to balance pH levels and remove excess oil.
Next, incorporate lemon juice, which not only adds freshness but also acts as a natural astringent. You’ll also want to include witch hazel, an excellent oil reducer that helps to soothe your scalp.
Finally, consider adding essential oils like tea tree or lavender for their antimicrobial properties and delightful scent. These ingredients work in harmony to tackle oiliness while promoting healthy hair.
Embrace this natural approach, and you’ll feel empowered and connected to a community that values self-care and holistic solutions.
Step-by-Step Application Process
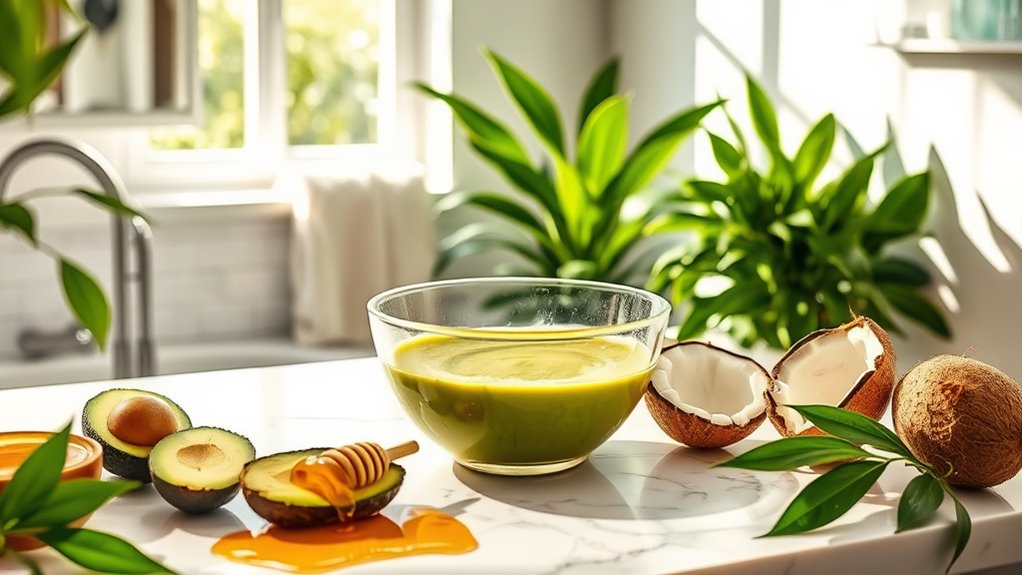
Before you dive into your DIY treatment, gather all your ingredients and tools to ensure a smooth application process.
Start by sectioning your hair into manageable parts; this’ll help you apply the treatment evenly.
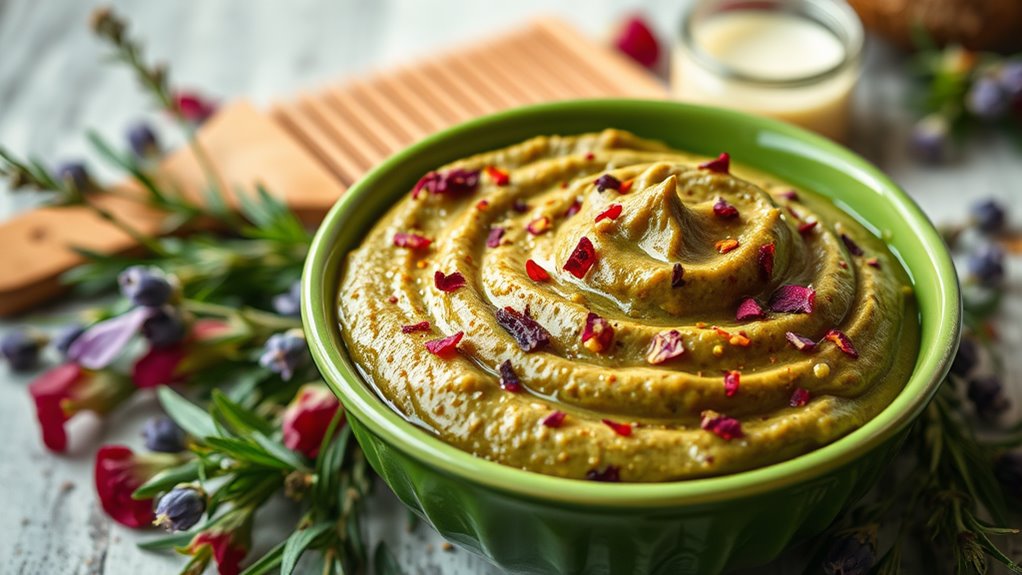
Next, mix your ingredients in a bowl until you achieve a smooth consistency.
Using a brush or your fingers, apply the mixture directly to your scalp, focusing on the roots where oiliness occurs most.
Don’t forget to massage it gently; this stimulates blood flow and enhances absorption.
Once you’ve covered your entire scalp, let the treatment sit for about 20-30 minutes.
Rinse thoroughly with lukewarm water, and follow up with a gentle shampoo.
Enjoy the refreshing feeling of your revitalized hair!
Tips for Preventing Oily Hair
Maintaining fresh, non-greasy hair starts with a few simple habits you can easily incorporate into your routine.
By making these changes, you’ll feel more confident and part of a community that values healthy hair.
- Wash regularly: Find a shampoo that suits your hair type and establish a washing schedule.
Overwashing can strip your scalp, while underwashing allows oil buildup.
- Mind your diet: Eating balanced meals rich in vitamins and minerals can help regulate oil production.
Think fruits, veggies, and lean proteins.
- Limit touching your hair: The more you touch your hair, the more oil spreads.
Keep those hands busy and let your hair be!
Maintaining Healthy Hair Between Treatments
Keeping your hair healthy doesn’t stop after you’ve taken steps to prevent oiliness. To maintain that fresh, vibrant look, incorporate a few simple habits into your routine.
First, wash your hair regularly with a gentle shampoo that matches your hair type. Avoid over-washing, as that can strip natural oils, leading to more oiliness. Use a lightweight conditioner, applying it only to the ends to prevent buildup at the roots.
Additionally, try to limit heat styling and opt for air-drying whenever possible. When you do use heat tools, always apply a heat protectant.
Finally, nourish your hair from the inside out by eating a balanced diet rich in vitamins and minerals. With these easy tips, you’ll keep your hair healthy and feeling fabulous between treatments!
Frequently Asked Questions
How Often Should I Use This DIY Treatment?
You should use this DIY treatment once a week for the best results. It’ll help balance your hair’s oiliness without over-drying, keeping it healthy and fresh. Trust me, your hair will thank you!
Can This Treatment Be Used on Colored Hair?
Yes, you can use this treatment on colored hair! Just be gentle and avoid overuse. It helps maintain your shine and vibrancy while managing oiliness, keeping your locks looking fabulous and fresh every day.
Is This Treatment Safe for All Hair Types?
Yes, this treatment’s safe for all hair types! It nourishes and revitalizes without causing damage. Just follow the instructions, and you’ll enjoy healthier, shinier hair. You’re gonna love how it transforms your locks!
What if I Experience Irritation From the Ingredients?
If you experience irritation from the ingredients, stop using the treatment immediately. You can try a patch test next time or consult a dermatologist for alternatives that suit your hair type and skin sensitivity better.
Can Diet Affect the Effectiveness of This Treatment?
Absolutely! Your diet plays a significant role in how well treatments work. Eating a balanced diet rich in vitamins and minerals can enhance results, while excessive junk food might counteract the benefits you’re aiming for.