Make DIY Ice Packs Like a Pro for All-Over Pain Relief!
Making your own DIY ice packs is quick and easy for all-over pain relief. Grab a sturdy resealable bag and fill it with water and rubbing alcohol in a 1:2 ratio, then seal it up. Freeze for at least two hours, and always wrap it in a cloth before applying it to your skin. Use them for 15-20 minutes at a time for the best results. Want to discover more creative ways to customize your ice packs for specific needs?
Understanding the Benefits of Ice Therapy
When you’re dealing with pain or swelling, ice therapy can be an effective solution. It works by constricting blood vessels, which reduces blood flow to the affected area, ultimately helping to minimize inflammation and swelling.
You’ll find that applying ice can numb the pain, providing immediate relief for injuries or soreness. Plus, it can help speed up recovery by reducing muscle spasms and improving overall healing time.
Ice therapy is also convenient and can be easily incorporated into your routine, whether you’re at home or on the go. Just remember to use it in intervals—generally 15 to 20 minutes at a time—to avoid skin damage.
With ice therapy, you’re taking an important step toward feeling better faster.
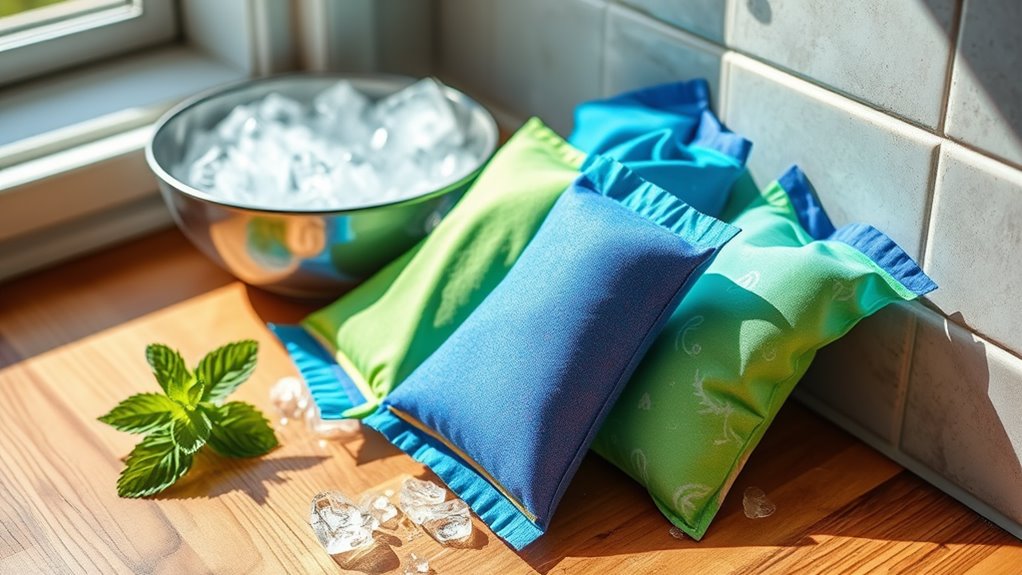
Essential Materials for Your DIY Ice Packs
Creating your own ice packs can be a simple and effective way to enhance your pain relief routine. To get started, you’ll need a few essential materials.
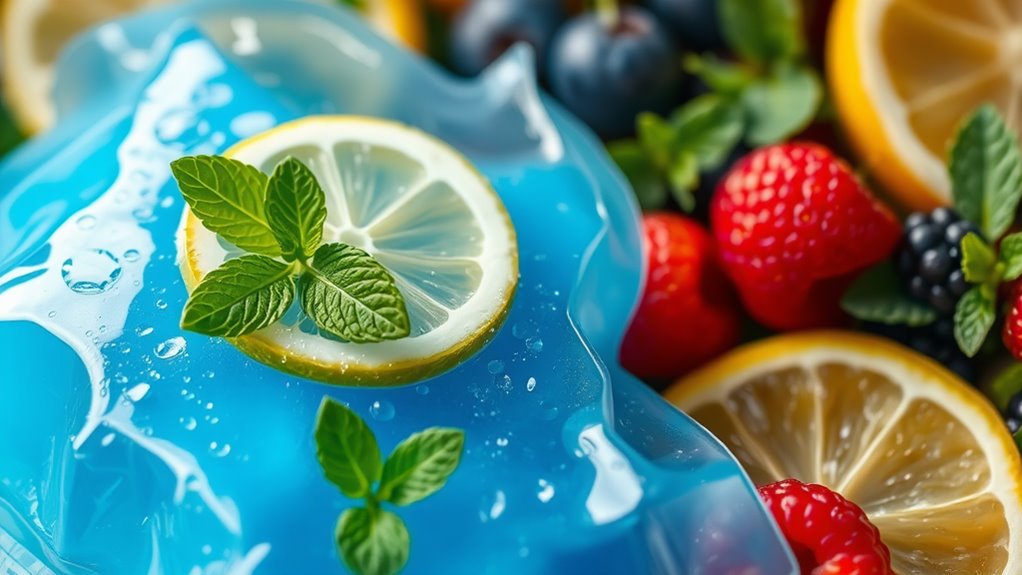
First, grab a sturdy plastic bag or a resealable freezer bag to hold your ice pack mixture. Next, choose a filler; common options include water, rubbing alcohol, or a mixture of both. Rubbing alcohol lowers the freezing point, creating a slushy consistency.
You might also want to include some dish soap for a more flexible texture. Finally, don’t forget a towel or cloth for wrapping your ice pack before applying it to your skin.
With these materials in hand, you’re ready to create an ice pack that suits your needs perfectly!
Step-by-Step Instructions for Making Your Ice Packs
To make your DIY ice packs, start by gathering your materials and preparing your workspace.
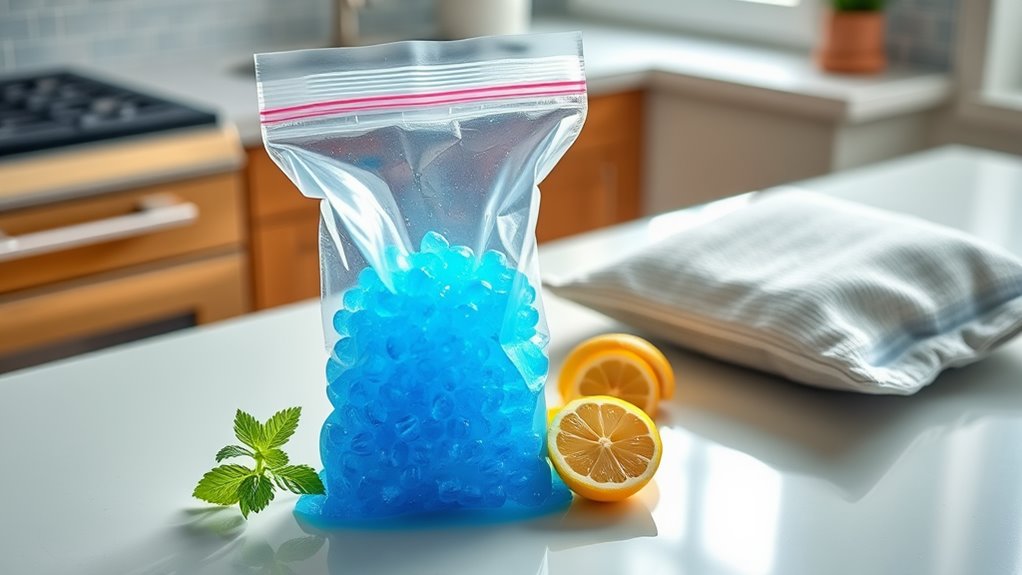
You’ll need a resealable plastic bag or a clean sponge, water, and rubbing alcohol. If you’re using a sponge, soak it in a mixture of water and rubbing alcohol in a bowl. Once it’s saturated, place it in the plastic bag and seal it tightly.
For a liquid ice pack, fill the resealable bag with a 1:2 ratio of alcohol to water, leaving some space for expansion, then seal it securely.
Next, place your ice pack in the freezer for at least two hours. Once it’s frozen, it’s ready for use!
Remember to wrap it in a cloth before applying it to your skin.
Creative Variations for Different Pain Relief Needs
After making your DIY ice packs, you might want to explore different variations to better address your specific pain relief needs.
For targeted relief, consider creating smaller packs using ice cubes in a resealable bag. These fit perfectly around joints and can easily wrap around sore areas.
If you’re dealing with muscle tension, try using a gel pack made from water and aloe vera for a soothing effect.
For kids, blend water with a few drops of essential oils like lavender for a calming scent.
Lastly, if heat therapy is also on your radar, replace ice with a mixture of rice and water, microwaving it for a warm compress that alleviates discomfort.
Each variation offers unique benefits tailored to your pain relief needs!
Best Practices for Using Ice Packs Safely and Effectively
While ice packs can be incredibly effective for pain relief, using them safely is essential to avoid skin damage or discomfort.
Always wrap your ice pack in a thin cloth or towel before applying it to your skin. This barrier prevents frostbite and irritation.
Limit your ice application to 15-20 minutes at a time, allowing your skin to warm up between sessions. If you notice any numbness, tingling, or excessive redness, remove the pack immediately.
When using ice packs on sensitive areas, like joints or the neck, be extra cautious. Keep the pack moving slightly to avoid prolonged pressure on one spot.
Following these practices will help ensure you reap the benefits of ice therapy without adverse effects.
Tips for Storing and Maintaining Your Homemade Ice Packs
When you create homemade ice packs, knowing how to store and maintain them properly ensures they’ll be ready when you need relief.
Here are some tips to keep your ice packs in top shape:
-
Seal them tightly: Use airtight bags or containers to prevent leaks and freezer burn.
-
Label your packs: Write the date and contents on the container to track freshness.
-
Store in the freezer: Keep them in a dedicated spot for easy access when pain strikes.
-
Check regularly: Inspect your ice packs for any damage or leaks and replace if necessary.
-
Avoid overfilling: Leave some space for expansion when freezing to prevent breakage.
Frequently Asked Questions
Can I Use Frozen Vegetables as an Ice Pack Alternative?
Yes, you can use frozen vegetables as an ice pack alternative. They mold easily to your body and stay cold for a while. Just wrap them in a cloth to avoid direct contact with your skin.
How Long Should I Apply Ice for Optimal Relief?
You should apply ice for about 15 to 20 minutes at a time. This helps reduce swelling and numbs the pain. Just remember to take breaks in between to avoid skin damage.
Are There Any Health Risks Associated With Ice Therapy?
Yes, there’re potential health risks with ice therapy. You might experience frostbite, skin irritation, or reduced blood flow if applied too long. Always check your skin and limit sessions to avoid complications and ensure safety.
Can I Make Ice Packs for Hot Therapy as Well?
Absolutely, you can make ice packs for hot therapy! Just fill a bag with warm water or use a heatable gel pack. Make sure it’s not too hot to avoid burns, and enjoy your soothing relief!
How Do I Clean My Homemade Ice Packs?
To clean your homemade ice packs, remove them from their covers, wipe down the exterior with a damp cloth, and let them air dry. If needed, wash the covers according to their fabric care instructions.