DIY Ice Packs- The Secret to Quick Pain Relief!
If you’re looking for quick pain relief, DIY ice packs are your answer! They help reduce inflammation and numb discomfort when applied to sore areas. Simply fill a resealable plastic bag with water or a water-alcohol mix, freeze it, and you’re good to go. Remember to wrap the pack in a cloth to protect your skin and apply it for 15-20 minutes. Keep going, and you’ll discover more tips and tricks for effective relief!
Understanding the Benefits of Ice Therapy
When you experience pain or swelling, ice therapy can be a game-changer. It’s a simple yet effective way to reduce inflammation and numb that discomfort.
You’ll find that applying ice helps constrict blood vessels, which slows down blood flow and eases swelling. Plus, it can provide immediate relief, making it easier to get back to the activities you love.
Using ice packs can also contribute to a sense of belonging in your wellness journey. When you share your experiences with friends or join communities focused on natural pain relief, you realize you’re not alone in seeking comfort.
Embracing ice therapy can become a shared practice, fostering connections and support among those who understand the struggle.
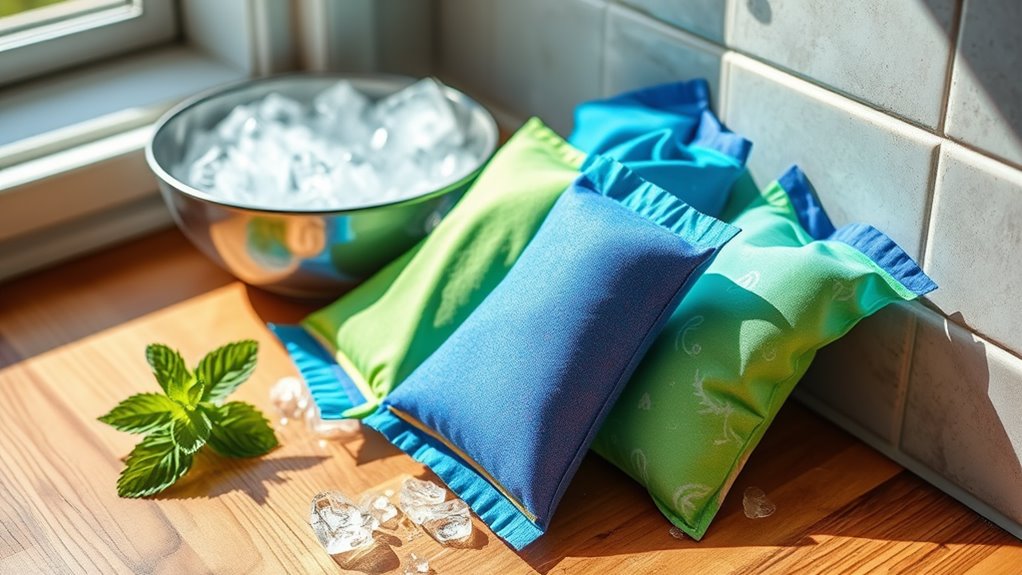
Materials Needed for DIY Ice Packs
Creating your own ice packs is an easy and cost-effective way to enhance your pain relief routine.
You’ll need just a few simple materials that you probably already have at home. Here’s what you’ll need to get started:
- A resealable plastic bag or old sock
- Water or rubbing alcohol
- A mixing bowl (if needed)
- A towel or cloth
These materials come together to create effective ice packs that fit your needs.
You can customize the size and shape, ensuring they’re perfect for treating your specific pain points.
Plus, making ice packs at home can foster a sense of community, as you share tips and tricks with friends and family.
Get ready to take control of your pain relief!
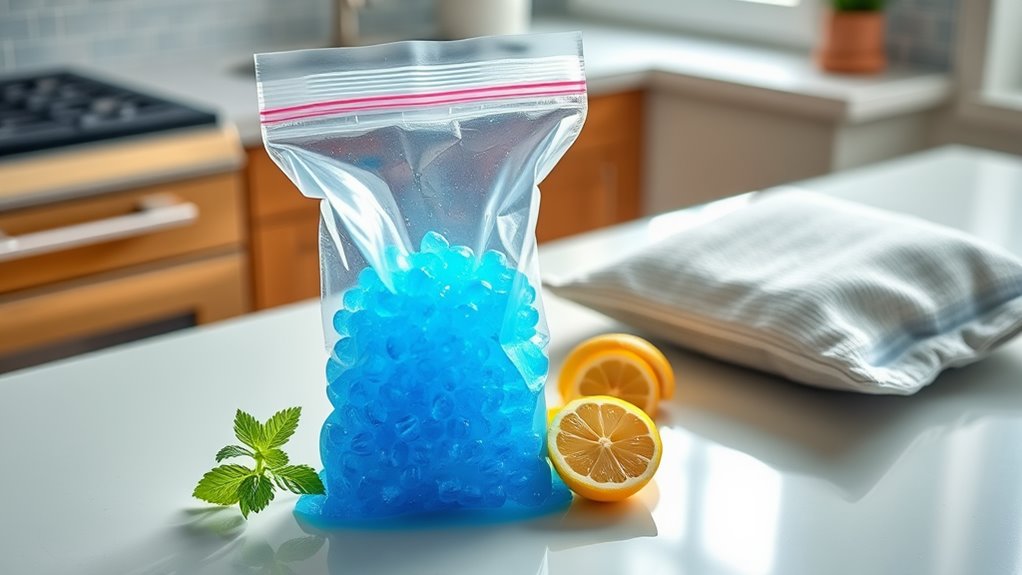
Step-by-Step Instructions for Creating Ice Packs
Now that you have your materials ready, it’s time to make your ice packs.
Start by choosing your container—ziplock bags work great. If you’re using water, fill the bag about two-thirds full and seal it tightly.
For a more flexible pack, mix one part rubbing alcohol with two parts water, then pour it into the bag and seal it.
Next, lay the bag flat in the freezer for a few hours. Once it’s frozen, you’ll have a soft, pliable ice pack that molds to your body.
When you need relief, just grab your DIY ice pack, apply it to the area, and enjoy the comfort it brings.
You’ve got this, and your body will thank you!
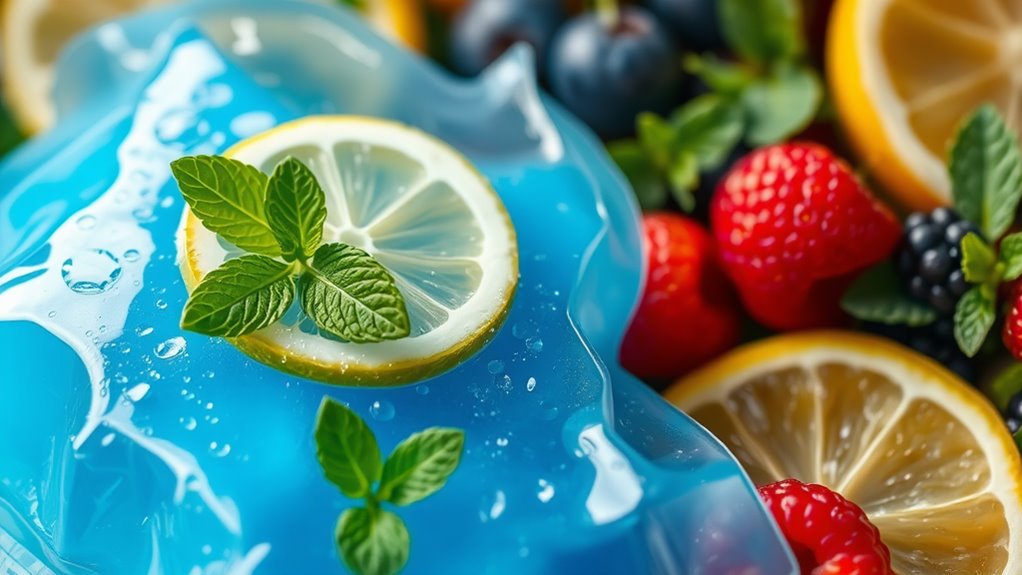
Alternative Recipes for Herbal Compresses
While ice packs offer great relief, herbal compresses can enhance your recovery with their soothing properties.
These natural remedies not only ease pain but also promote healing and relaxation. Here are some easy recipes you can try at home:
-
Chamomile Compress: Steep chamomile tea bags in hot water, let cool, then apply to the affected area.
-
Ginger Infusion: Boil fresh ginger slices in water, soak a cloth, and wrap it around your pain point.
-
Lavender Blend: Mix dried lavender with warm water, soak a cloth, and enjoy its calming effects.
-
Peppermint Chill: Infuse peppermint leaves in hot water, cool it down, and apply for a refreshing sensation.
Give these herbal compresses a shot, and feel the difference in your recovery journey!
Best Practices for Using Ice Packs Effectively
To maximize the benefits of ice packs for pain relief, it’s essential to follow some best practices.
First, always wrap your ice pack in a thin cloth to protect your skin and avoid frostbite. Apply it for about 15-20 minutes at a time, giving your body breaks in between.
If you’re treating a specific injury, aim for the first 48 hours post-injury to reduce swelling. Don’t forget to elevate the affected area while using the ice pack to enhance its effectiveness.
Listening to your body is crucial; if you feel excessive discomfort, remove the pack.
Finally, make it a habit to check in with friends or family about their experiences with ice packs, creating a supportive environment for sharing tips and encouragement.
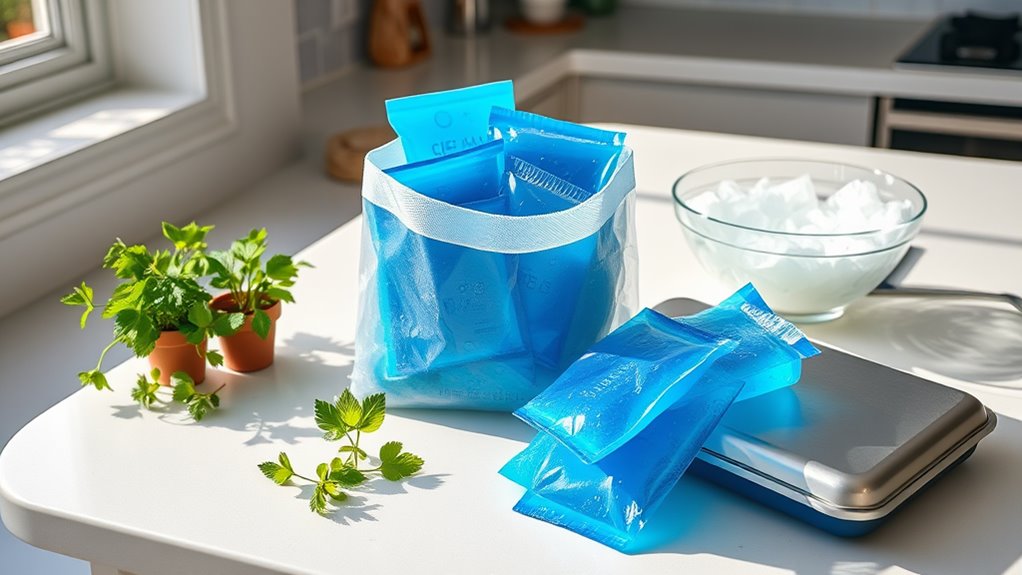
Tips for Storing and Maintaining Your Ice Packs
Proper storage and maintenance of your ice packs can significantly extend their lifespan and effectiveness.
To ensure they stay in top shape, follow these helpful tips:
-
Store in a cool, dry place to prevent any damage or leaks.
-
Check for leaks regularly, as even a small crack can compromise functionality.
-
Label your packs with the date you made them, so you know when to replace them.
-
Avoid excessive freezing; it can make the materials brittle over time.
Frequently Asked Questions
Can I Use Frozen Vegetables Instead of Ice Packs?
Yes, you can definitely use frozen vegetables instead of ice packs! They mold well to your body, providing relief. Just remember to wrap them in a cloth to avoid frostbite. You’ve got this!
How Long Should I Apply an Ice Pack?
You should apply an ice pack for about 15 to 20 minutes at a time. This helps reduce swelling and numb pain without risking skin damage. Just remember to take breaks in between applications!
Can Ice Packs Be Reused Multiple Times?
Yes, you can reuse ice packs multiple times! Just make sure to check them for any leaks or damage. Keeping them in good condition ensures they’re ready whenever you need quick relief from pain.
Are There Any Risks of Using Ice Packs?
Using ice packs can lead to skin irritation or frostbite if applied too long. You should always wrap them in a cloth and limit use to 15-20 minutes at a time to stay safe.
How Do I Know if Ice Therapy Is Working?
To know if ice therapy’s working, pay attention to your pain level and swelling. If you notice a reduction in discomfort and inflammation after a few sessions, it’s likely doing its job effectively for you.