DIY Ice Compress for Instant Pain Relief!
An ice compress is an easy way to get instant pain relief at home. Grab a resealable plastic bag and fill it halfway with ice or crushed ice. Add a little water, seal it tight, and wrap it in a thin towel. Apply it to the painful area for 15-20 minutes, allowing breaks in between. This method helps minimize swelling and numbs the pain. There’s plenty more to learn about making your ice compress effective!
Understanding the Benefits of Ice Compresses
When you’re dealing with pain or swelling, understanding the benefits of ice compresses can be a game changer. Ice compresses work by constricting blood vessels, which reduces blood flow to the injured area. This helps minimize swelling and inflammation, allowing you to feel relief more quickly.
Additionally, the cold temperature numbs the area, providing immediate pain relief. You’ll find that using ice can also help prevent further injury by limiting movement in the affected area.
Plus, it’s an accessible remedy you can apply at home. By incorporating ice compresses into your recovery routine, you can promote healing and get back to your daily activities sooner.
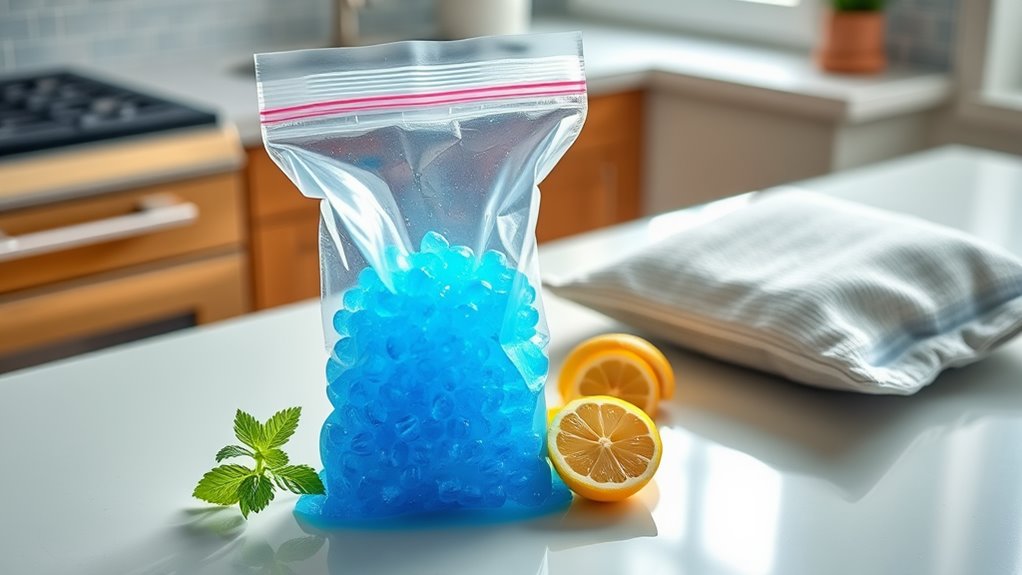
Materials Needed for Your DIY Ice Compress
To create your own ice compress, you’ll need just a few simple materials that are likely already in your home.
Gathering these items will ensure you can whip up your compress quickly when pain strikes. Here’s what you’ll need:
- A resealable plastic bag****: This will hold your ice or cold pack securely.
- Ice cubes or crushed ice: If you don’t have ice, a bag of frozen peas works great too!
- A thin towel or cloth****: This protects your skin from direct contact with the ice, preventing frostbite.
Once you’ve collected these essentials, you’ll be ready to relieve that pain effectively.
Enjoy the soothing benefits of your homemade ice compress!
Step-by-Step Instructions for Making an Ice Compress
Creating your ice compress is a simple process that only takes a few minutes.
Start by grabbing a resealable plastic bag. Fill it halfway with ice cubes or crushed ice. If you don’t have ice, you can use frozen vegetables as a substitute.
Next, add a small amount of water to the bag to help mold it to your body. Seal the bag tightly, removing any excess air.
For extra protection, wrap the bag in a thin towel or cloth to prevent direct contact with your skin.
Now your ice compress is ready! Just place it in the freezer for about 15 minutes, and you’ll have a cool, soothing compress to help relieve pain and discomfort in no time.
Tips for Applying Your Ice Compress Effectively
Once your ice compress is ready, applying it correctly can maximize its pain-relief benefits. Here are some tips to ensure you get the most out of your ice compress:
-
Timing: Apply the compress for 15-20 minutes at a time, allowing your skin to rest for at least 40 minutes between sessions. This prevents frostbite and enhances comfort.
-
Elevation: If possible, elevate the injured area while using the compress. This helps reduce swelling and improves blood flow.
-
Barrier: Always use a cloth or towel between the ice compress and your skin. This adds a protective layer and prevents direct contact, reducing the risk of skin irritation.
Follow these tips, and you’ll enhance the effectiveness of your ice compress for pain relief!
Alternative Compress Options for Different Types of Pain
When you’re dealing with different types of pain, varying your compress options can make a significant difference in your comfort and recovery.
For muscle strains, consider using a warm compress to promote blood flow and relax tight muscles. Simply soak a towel in hot water, wring it out, and apply it to the affected area.
If you’re facing inflammation, try a gel pack, which molds better to your body and can provide targeted relief.
For headaches, a cold cloth on your forehead may work wonders. Alternatively, you can use a rice sock—heat it in the microwave for soothing warmth.
Experiment with these options to find what alleviates your pain best, and don’t hesitate to switch methods as needed.
Frequently Asked Questions
How Long Can I Store a DIY Ice Compress?
You can store a DIY ice compress in the freezer for about three months. Just make sure it’s sealed tightly to prevent leaks or freezer burn, so it stays effective when you need it.
Can I Use Frozen Vegetables Instead of Ice?
You can definitely use frozen vegetables instead of ice. They mold nicely to your body, providing effective cooling. Just make sure to wrap them in a cloth to avoid direct contact with your skin.
Is It Safe to Use Ice Compresses on Children?
Yes, it’s safe to use ice compresses on children, but make sure you wrap the ice in a cloth to protect their skin. Limit application to 20 minutes to avoid frostbite or discomfort.
How Often Should I Apply an Ice Compress?
You should apply an ice compress for 15-20 minutes at a time, allowing at least 1 hour between applications. This helps reduce swelling and numb pain without risking skin damage or frostbite.
Can Ice Compresses Help With Headaches?
Yes, ice compresses can help with headaches. They reduce inflammation and numb the area, providing relief. You can apply it to your forehead or neck for about 15-20 minutes to ease discomfort effectively.